Friday, March 20, 2015

How To Tear Down The Samsung Galaxy S6 In 10 Steps

We just got our hands on the brand new Samsung Galaxy S6. We are all curious to see the insides of this new phone. So is it hard to repair? Anything to watch out for? Here we've taken it apart for you.

Tools Needed:
▪ Heat Gun/Hair Dryer
Step 1: Take Out The SIM Card Tray.
▪ Power off the Samsung Galaxy S6.
▪ Use an ejector pin or tweezers to take out the SIM Card Tray.
Step 2: Take Apart The Battery Door.
▪ Heat up the Samsung Galaxy S6's Battery Door.
▪ Pull the battery cover up with a screen suction cup tool. (The battery door is stuck to the middle plate with some really strong adhesive, take your time to remove it)
▪ Separate the battery door with a case opening tool.
Step 3: Release The Rear Housing.
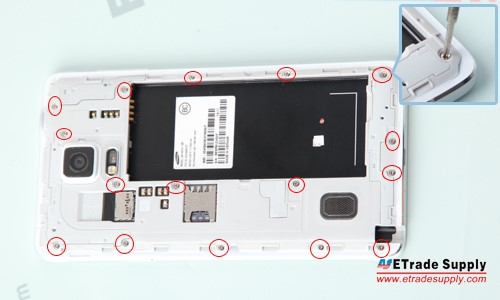
▪ Undo the 13 screws in the rear housing.
▪ Heat up the LCD Assembly.
▪ Separate the rear housing from the LCD Assembly with the help of a suction cup tool and case opening tool.
(Notice: be careful not to damage the wireless charging chip attached to the battery.)
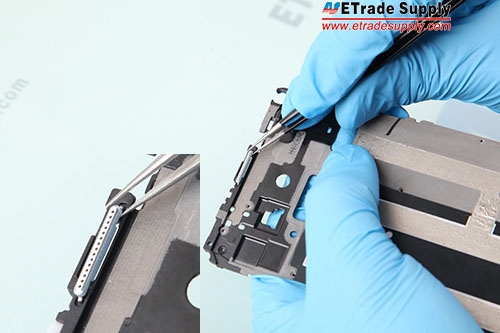
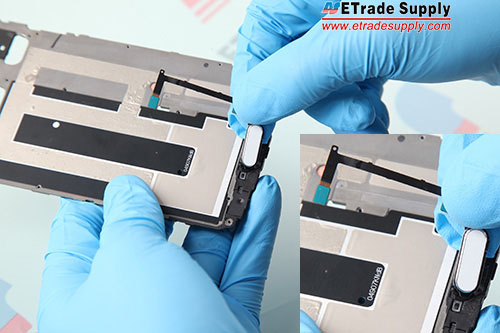
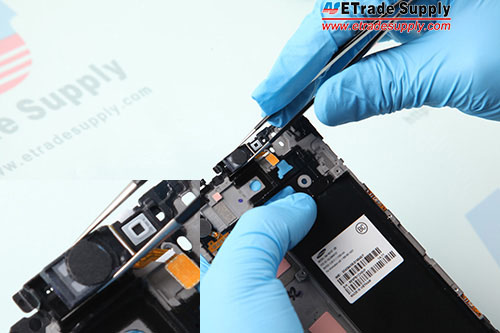
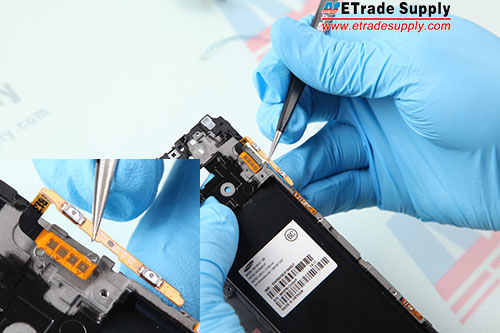
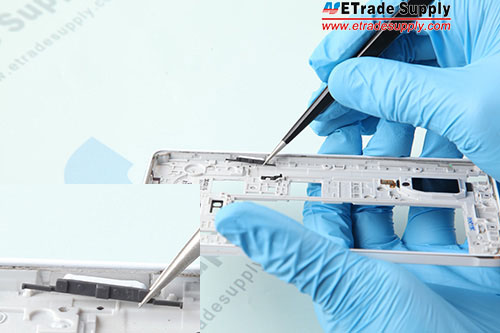
Step 4: Remove The Case Buttons.
▪ Remove the power button flex.
▪ Remove the volume button flex.
▪ Remove the Case Buttons. (Notice: the Galaxy S6 power button and volume buttons are compatible with each other.)
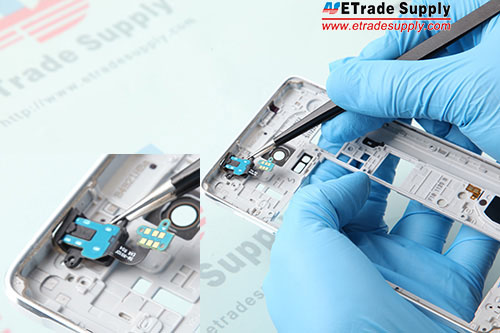
Step 5: Release The Wireless Charging Chip
▪ Pry up the wireless charging coil's flex ribbons on both sides of rear housing. (Notice: be careful not to damage the flex ribbons.)
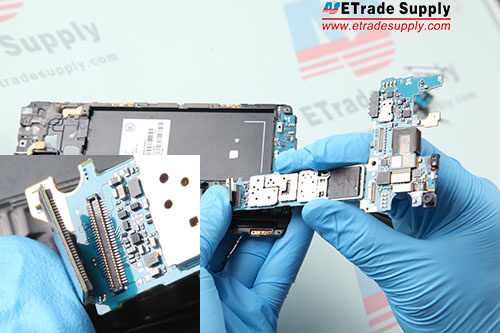
Step 6: Remove The Motherboard.
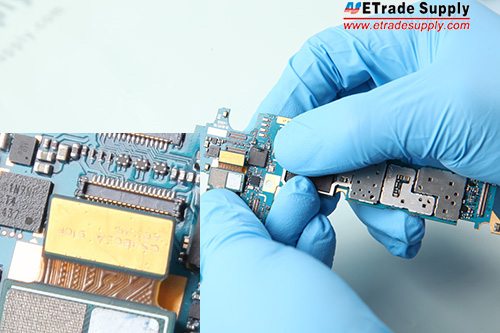
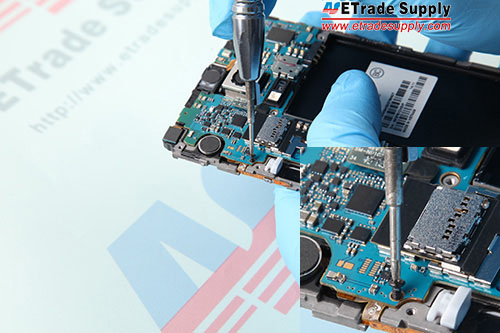
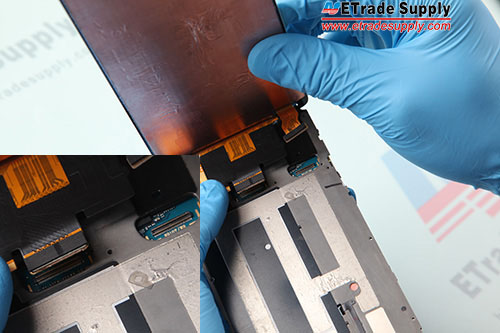
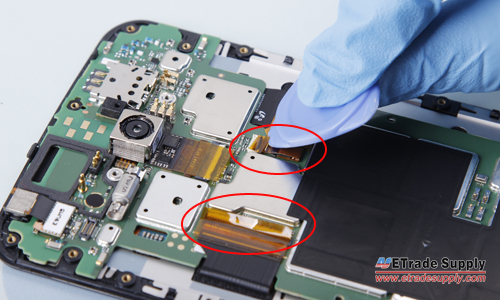
▪ Pry up the LCD assembly connector, front facing camera connector, battery connector, ear speaker connector and home button flex ribbon connector.
▪ Turn over the motherboard and pry up the connector.
Step 7: Remove The Battery.
▪ Gently pry up the battery with a spudger tool.
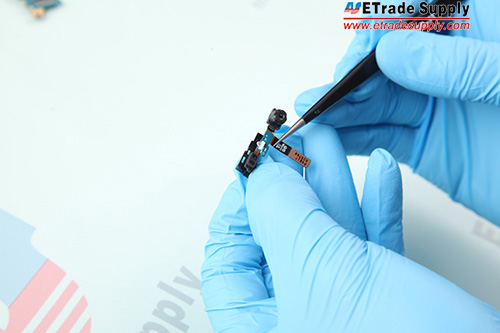
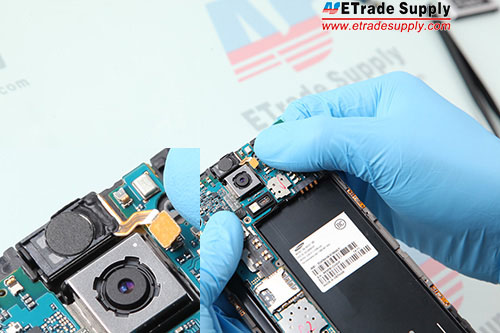
Step 8: Remove Small Components.
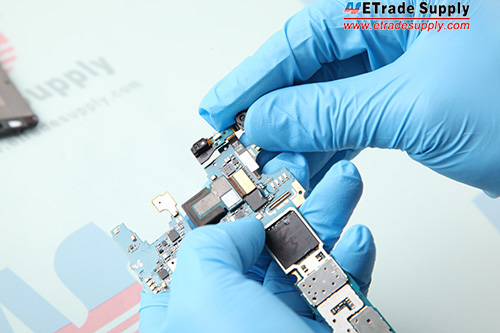
▪ Remove the front facing camera.
▪ Remove the ear speaker. (Notice: be careful not to break the flex ribbon.)
▪ Remove the vibrating motor.
▪ Remove the rear facing camera.
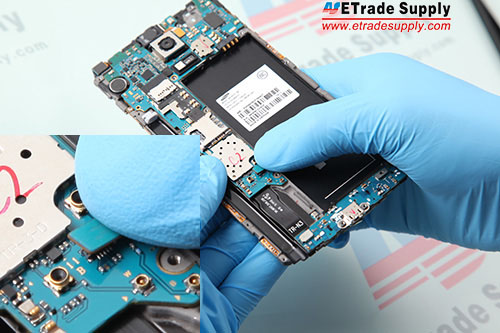
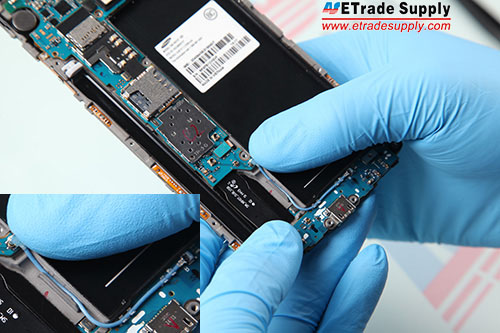
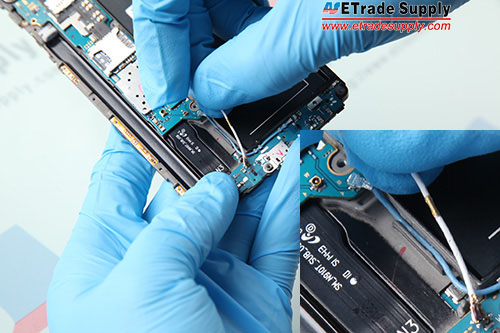
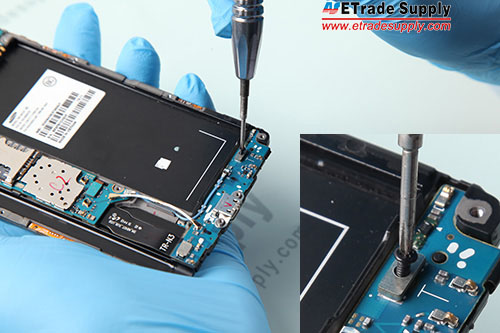
Step 9: Release The Charging Port Assembly.
▪ Remove the Bluetooth and Wi-Fi cables.
▪ Undo the earphone jack screw. (Notice: the screw is different than the rear housing screws.)
▪ Heat up the LCD Assembly to release the front housing.
▪ Pry up the navigation light stickers.
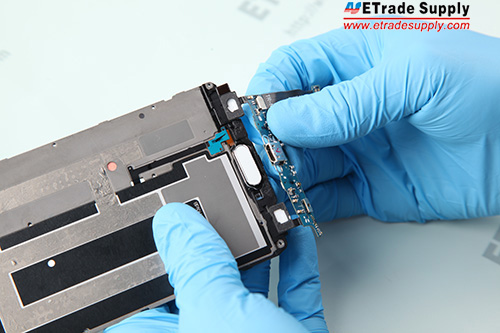
Step 10: Release The Home Button With Flex.
▪ Pry up the connector on the back side of home button.
▪ Pry up the home button.
The Samsung Galaxy S6 disassembly is now complete.
We will do several different Samsung Galaxy S6 test and review videos in the coming days, so stay tuned!

Monday, March 2, 2015

HTC One M9 VS M8, Is It Upgradeable?


Finally the HTC One M9 is official released after the endless leaks over the past few weeks. What HTC One fans may ask are: 1. What features does the M9 have? 2. Is it necessary to upgrade to the M9 from M8? Well, check out the chart below before I answer these two questions for you.


HTC One M9
Same Specs
Dimension
144.6   x 69.7 x 9.6 mm
(5.69   x 2.74 x 0.38 in)
146.4   x 70.6 x 9.4 mm
(5.76   x 2.78 x 0.37 in)

Weight
157 g
160   g

SIM
Nano SIM
Nano   SIM
Yes
Screen Size
5.0   inches
5.0   inches
Yes
Display
Super   LCD3 capacitive touch screen
Yes
Protection
Corning   Gorilla Glass 4
Corning   Gorilla Glass 3

Resolution
1080   x 1920 pixels
Yes
Body Material
Aluminum
Aluminum
Yes
OS
Android   OS, v5.0.x (Lollipop)
Android   OS, v4.4.2 (KitKat)

Chipset
Qualcomm MSM8994 Snapdragon 810
Qualcomm   MSM8974AB Snapdragon 801

CPU
Quad-core   1.5 GHz Cortex-A53 & Quad-core 2 GHz Cortex-A57
Quad-core   2.3 GHz (US/EMEA)/ 2.5 GHz (Asia, China) Krait 400

ROM
32   GB
16   GB, 32 GB

RAM
3   GB
2   GB

Expandable Storage
Up   to 128 GB
Up   to 128 GB
Yes
Front Camera
HTC   UltraPixel™, BSI sensor, f/2.0, 26.8mm lens, 1080p video recording
5   MP, 1080p@30fps, HDR

Back Camera
20MP with sapphire cover lens, auto-focus,   BSI sensor, f/2.2, 27.8mm lens, 4K video recording
Dual   4 MP, 2688х1520 pixels, autofocus, dual-LED (dual tone) flash

Battery
2840   mAh battery
2600   mAh battery

Color
Gunmetal   Gray, Amber Gold, Silver/Rose gold, Gold/Pink
Gunmetal   Gray, Amber Gold, Glacial Silver


The HTC One M9 features a 5-inch Super LCD3 capacitive touch screen protected by the latest generation of Corning Glass – Corning Gorilla Glass 4. Installed with the newest Android OS 5.0 Lollipop, the M9 sports a Snapdragon 810 chipset. The most significant feature of the M9 is the 20 MP back camera and Ultra Pixel front camera.
From the specs and design, we can see that the HTC One M9 didn’t change too much compared with the M8. Is it necessary to upgrade? It depends, if you’re enthusiastic about getting the latest technology, you may try the HTC One M9.

Monday, January 19, 2015

How to reassemble Samsung Galaxy Note 4

http://www.etradesupply.com/blog/how-to-reassemble-samsung-galaxy-note-4/

Coupon code: ETS7H4XW for extra discounts on www.etradesupply.com for order over $50, and it won’t be expire until Feb. 10th, 2015.

At the first glance, you’ll easily find that the Samsung Galaxy Note 4 inherits the design and the great figuration of Galaxy Note series. After tearing down Samsung Galaxy Note 4, we found it’s very easy to repair. Compared with Samsung Galaxy Note Edge, it’s not only easier for you to use (The curve-display is not easy to hold) but also easier to be repaired. Here we show you how to reassemble Samsung Galaxy Note 4 step by step, just in 10 minutes. 
1. Put the ear speaker mesh cover in the middle plate.
2. Insert the home button flex ribbon in the middle plate.
2. Insert the home button flex ribbon in the middle plate.
3. Connect the charging port assembly to the middle plate.
3. Connect the charging port assembly to the middle plate
4. Assemble the plastic bracket with front facing camera.
5. Connect the rear facing camera to the mother board.
5. Connect the rear facing camera to the mother board.
6. Connect the front facing camera to the mother board.
6.Connect the front facing camera to the mother board.
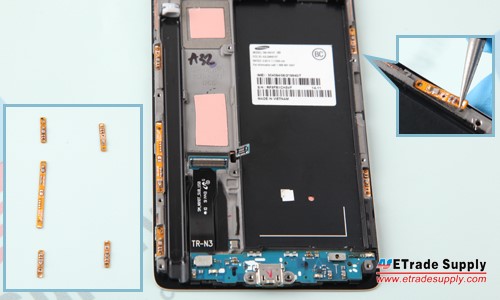
7. Insert the 5 antenna chips in slots. (Notice: The 5 signal chips are different in shape, be careful not to place in the wrong position when reassembling.)
6. Insert the 5 antenna chips in slots.
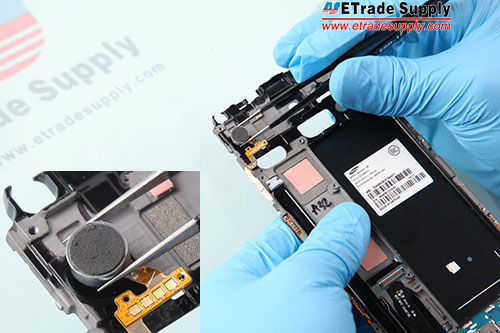
8.  Insert the vibrating motor with power button flex in the slot.
7. Insert the vibrating motor with power button flex in the slot.
9. Put the ear speaker flex into the slot.
8. Put the earphone speaker flex into the slot.
 10. Put the volume key flex into the slot.
9. Put the volume key flex into the slot.
11. Put the mother board in the slot and connect the charging port assembly to the mother board.
10. Put the mother board in the slot and connect the charging port assembly to the mother board.
 12. Connect the ear speaker flex cable to mother board.
11. Connect the ear speaker flex cable to mother board.
13. Connect the home button flex cable to the mother board.
12. Connect the home button flex cable to the mother board.
14. Connect 2 antennas to mother board. 
13. _1_Connect 2 antennas to mother board. 13. _2_Connect 2 antennas to mother board.
15. Fasten 1 screw in the charging port assembly.
14. Fasten 1 screw in the charging port assembly.
 16. Fasten 1 screw in the mother board. 
15. Fasten 1 screw in the mother board.
 17. Adhere Samsung Galaxy Note 4 front housing adhesive to the middle plate. Intall the LCD screen and digitzer assembly,  then connect the LCD screen flex cable and digitizer flex cable to the mother board.
16._1_connect the LCD screen flex cable and digitizer flex cable to the mother board.
16._2_connect the LCD screen flex cable and digitizer flex cable to the mother board
 18. Insert the volume key and power key.
17-1-Insert the volume key and power key.
17-2-Insert the volume key and power key.
 19. Insert the earphone jack.
 18. Insert the earphone jack.
 20. Cover the rear housing and fasten 16 screws in the rear housing.
19.1fasten 16 screws in the rear housing.
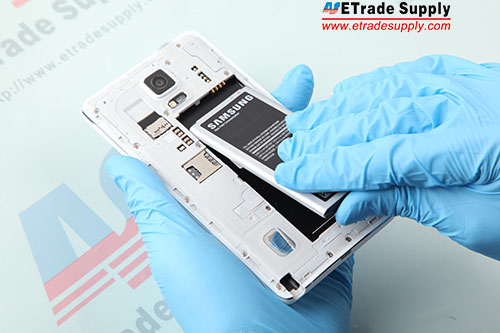
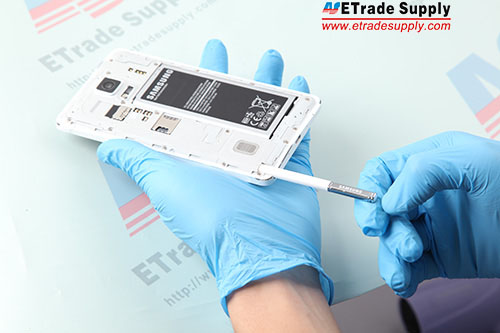
 21. Put the battery in and insert the stylus to the rear housing.
20.-1- Put the battery in
20.-2-insert the stylus
 22. Cover the battery door, then the reassembly is completely.

Thursday, January 15, 2015

How To Repair A Nexus 6 Cracked Screen

How To Repair A Nexus 6 Cracked Screen


http://www.etradesupply.com/blog/how-to-repair-a-nexus-6-cracked-screen/

use this coupon code: ETS7H4XW for extra discounts on www.etradesupply.com for order over $50, and it won’t be expire until Feb. 10th, 2015.
Cracked screens are still a common problem for all of the newest phones, even if the Motorola Nexus 6 features an AMOLED capacitive touch screen and is protected by Corning Gorilla Glass 3. Whether your device has a crack on the glass lens, LCD display or digitizer touch screen, we’d suggest you to replace the hermetically sealed LCD assembly with Frame, as it’s much easier to do and you have a lower risk of more damage. Here we walk you through how to replace a broken Motorola Nexus 6 repair parts screen.

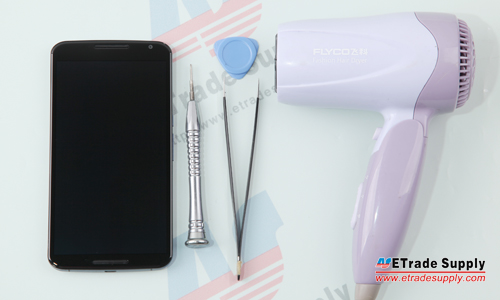
Tools Needed:
1. Hair Dryer / Heat Gun;
2. Tweezers;
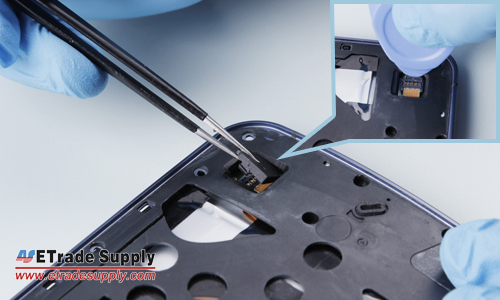
Nexus 6 disassembly

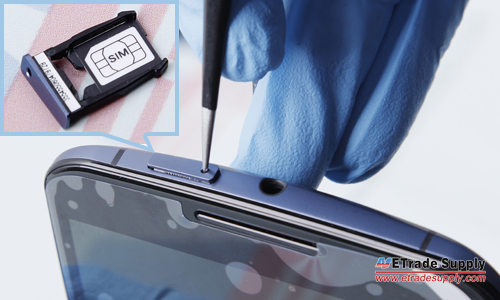
1. Remove the Motorola Nexus 6 SIM Card Tray.
● Power off the device;
● Use an eject pin or tweezers to release the SIM card tray.
Nexus 6 take out sim card tray

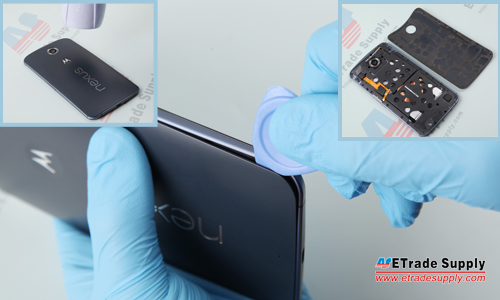
● Heat up the battery door for 2 minutes to soften the battery door adhesive;
● Insert the case opening tool and pry up the battery door.
Nexus 6 pry up battery door

3. Remove the Motorola Nexus 6 Rear Housing Assembly.
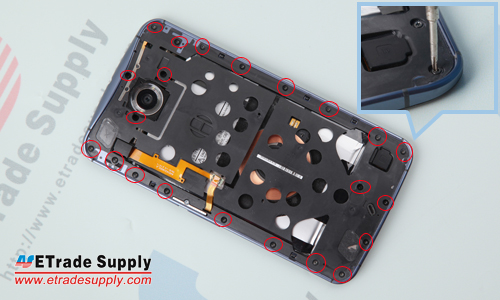
● Undo the 22 screws in the rear housing as shown below;
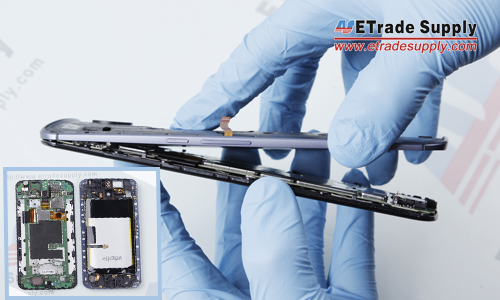
● Gently remove the rear housing assembly from the screen assembly.
Nexus 6 rear housing screws
Nexus 6 take out rear housing

4. Release the Connectors in the Rear Housing.
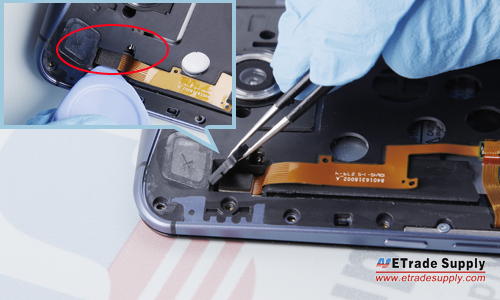
● Remove the gasket on the rear housing near the bottom of the phone;
● Carefully pry up the flex ribbon connector underneath;
● Remove the gasket on the rear housing near the top of the phone;
● Carefully pry up the flex ribbon connector underneath.
Nexus 6 (56) Nexus 6 (57)

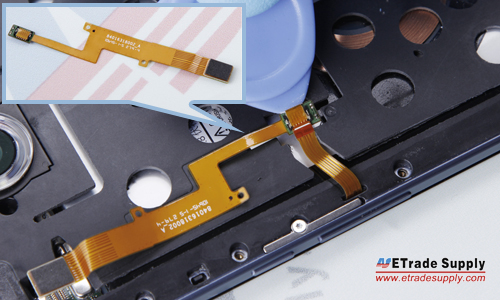
5. Release the Flex Cable Ribbon Extender.
●  Carefully pry up the latch on the flex connector to separate it from the flex ribbon extender.
 Nexus 6 Pry up connector 3
6. Remove the Motorola Nexus 6 Motherboard.
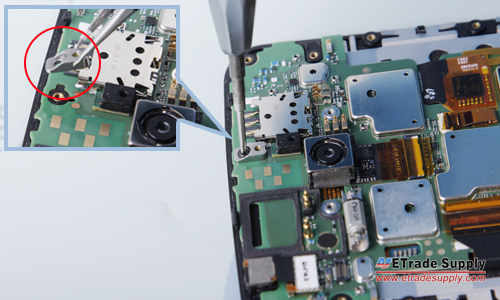
● Undo the screw and metal bracket that locks the front housing and main board;
● Pry up the LCD flex connector and digitizer connector;
● Remove the motherboard.
Nexus 6 undo main board screw
Nexus 6 pry up main board connector
7. Remove the Motorola Nexus 6 Ear Speaker and Headphone Jack.
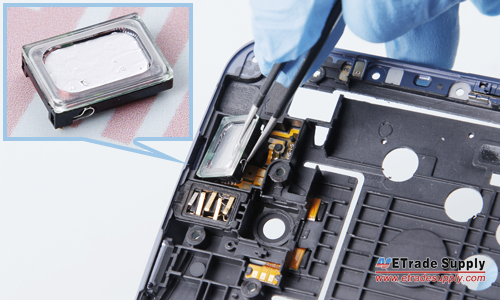
● Remove the front speaker.
(Notice: be careful not to scratch the flex ribbon underneath.)
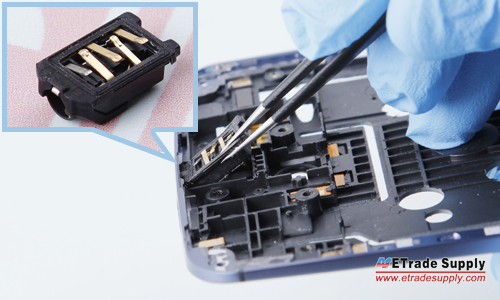
● Remove the headphone jack.
(Notice: the headphone jack is strongly attached to the front housing with an adhesive.)
Nexus 6 take out ear speaker 2
Nexus 6 take out earphone jack
After removing the front speaker and headphone jack, the necessary disassembly work for replacing a broken screen is finished. Now replace the broken screen with a brand new original Motorola Nexus 6 LCD Screen and Digitizer Assembly with Frame replacement in reverse order.
Below are two more articles for your reference if needed.