Everyone can use this coupon code: ETSKFIUZI for extra discounts on www.etradesupply.com for order over $50, and it won’t be expire until April. 30th, 2015.
As we have torn down Samsung Galaxy S6, now we show you how to reassemble the gadget back step by step.
Tools Needed:
1. Insert The Home button with flex cable.
a) Slide the flex cable through the slot to the back
b) Press down the home button and make sure it is secure.

2. Get the USB port back in.
a) Attach the soft key LEDs to place.
b) Make sure all the parts are aligned.

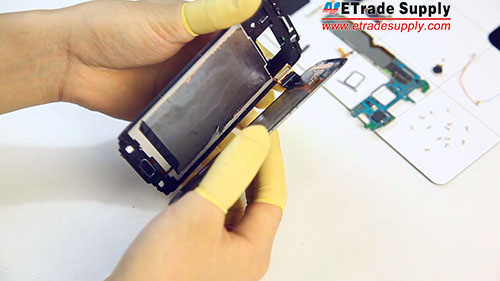
3. Stick the LCM back into place.
a) Make sure the connector goes back through its slot
b) Squeeze the parts and Make sure they are aligned correctly.
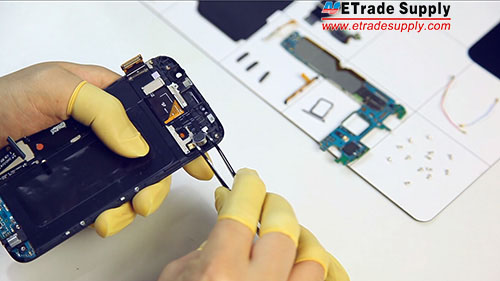
4. Fasten 1 Screw to secure the earphone jack. (You can find out the screw easily because it's different from other screws)

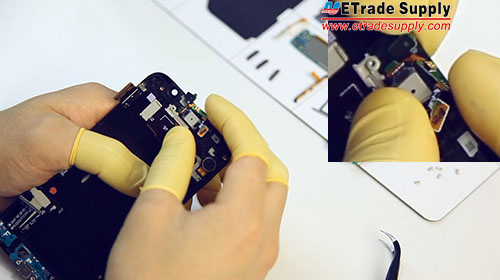
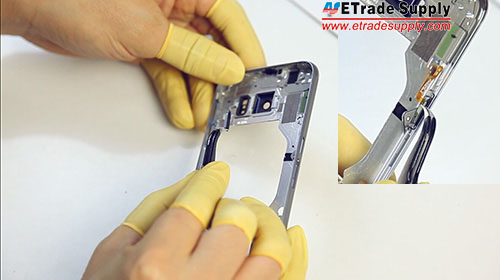
5. Place the vibrate motor, ear speaker and proximate sensor into the slot respectively.
a) Make sure the proximate sensor is facing the right way.
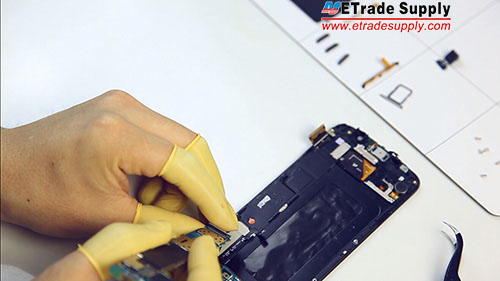
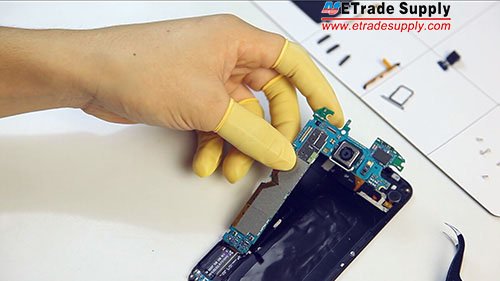
6. Get the rear facing camera into the mainboard.

7. Connect the charging port assembly to the mainboard.
8. Put the mainboard back into the place.
a) Make sure not to get any flex cable connectors caught behind it.
9. Set the front facing camera back into place.
a) Connect flex cables to the mainboard.
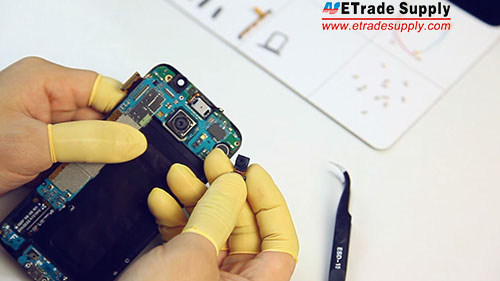

10. Connect the WiFi and Bluetooth antennas to the mainboard.
a) Make sure you set them back into the slot so that they fit better

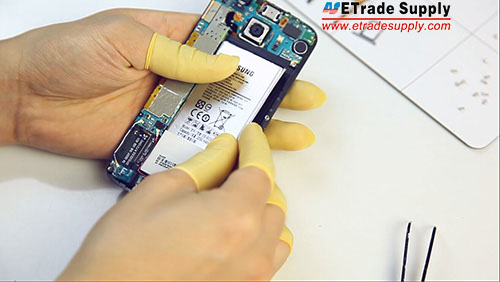
11. Put the battery in and connect its flex cable to the mainboard.
12. Put the side keys to the slot. (They are the same side keys)
a) Put the flex ribbon over top of them and press them all into place.
13. Put the wireless coil in place properly. (Handle carefully for the fragile coil.
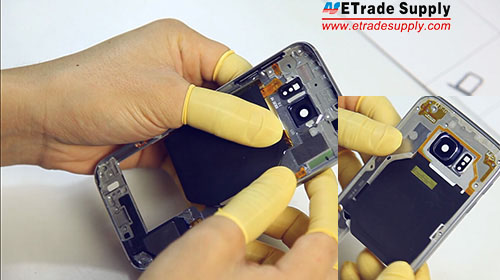
14. Put the middle plate and front assembly back together.

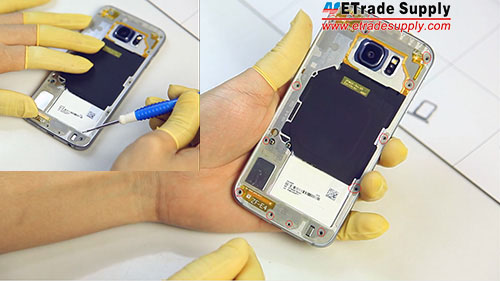
15. Fasten 13 screws in the rear housing.
16. Put the battery door back.
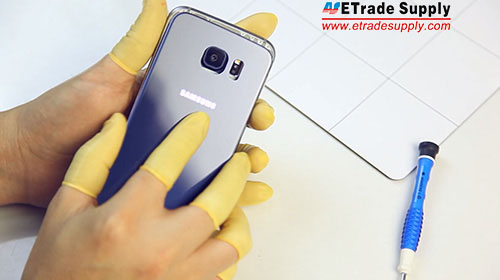
17. Insert the SIM card tray.

The Samsung Galaxy S6 reassembly is completed. Anyways, if you still have questions, you can watch our Galaxy S6 reassembly video , or just comment below to let us know. We will reply to you as soon as possible.