OEM LG Nexus 5 D821 LCD Screen and Digitizer Assembly - Black - Without Any Logo
http://www.etradesupply.com/lg-nexus-5-d821-lcd-screen-and-digitizer-assembly-black.html
http://www.etradesupply.com/lg-nexus-5-d821-lcd-screen-and-digitizer-assembly-black.html
Specifications:
Color: Black
Version: D821
Screen Size: 4.95 inches
Resolution: 1080 x 1920pixels, 445 ppi pixel density
Screen Type: True HD IPS+ capacitive touchscreen, 16M colors
Protection: Corning Gorilla Glass 3
Compatibility: LG Nexus 5
Features:
● This LG Nexus 5 Screen Replacement includes the LCD Display, Digitizer Touch Screen. It does NOT include the Frame or any small components.
● The LG Nexus 5 LCD Screen and Digitizer Assembly is available in brand new original and black only.
● This Nexus 5 screen replacement is compatible with both D820 and D821.
Notes: Difference between D820 and D821
The D820 version is designed for North America and will connect to 2G, 3G or LTE on AT&T, T-Mobile and Sprint. While the D821 version is set up to work with the rest of the world.
How to Install / Tips:
● Please choose the right version before placing an order.
● Special repairing tools are required for replacing LG Nexus 5 LCD Screen and Digitizer.
● Please try to handle the repair or replacement work in a dry and dust free environment without direct sunlight.
● The installation of any LG Nexus 5 LCD Assembly should be done by a qualified person. ETS is not responsible for any damage caused during installation.
Step1: Power off the Nexus 5 and remove the SIM card tray.
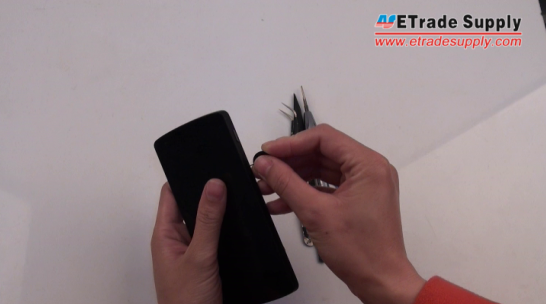
Step 2: Use the plastic pry tool and case opening tool to remove the Nexus 5 battery door.
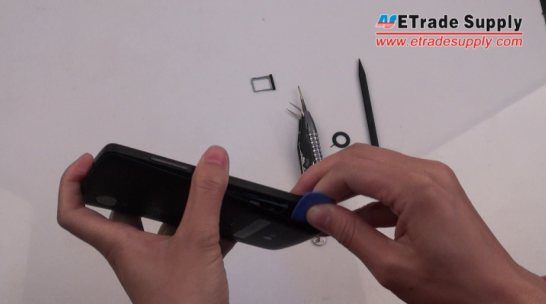
Step 3: Remove the Nexus 5 vibrating motor on the battery door with the tweezers.
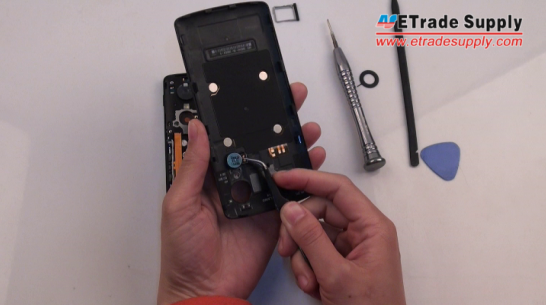
Step 4: Unscrew six screws at the top of the phone to remove the Nexus 5 rear housing.
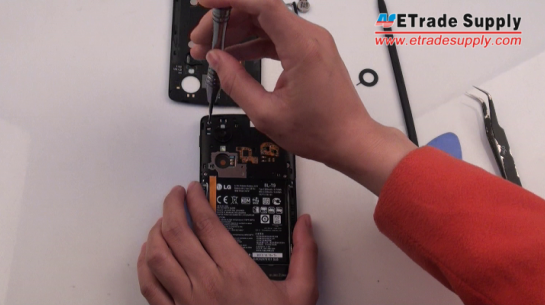
Step 5: Unscrew four screws holding the Nexus 5 loud speaker module in place.
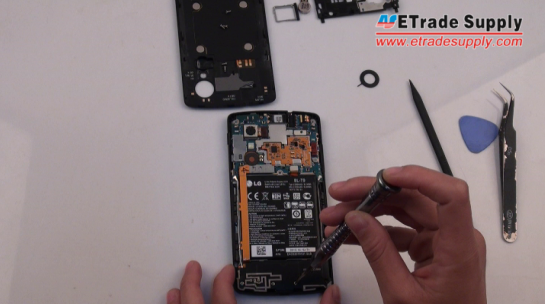
Step 6: Use the plastic pry tool to remove the Nexus 5 loud speaker module.
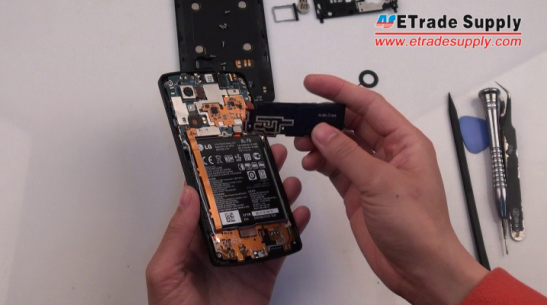
Step 7: Lift the Nexus 5 battery after disconnect the battery connector.
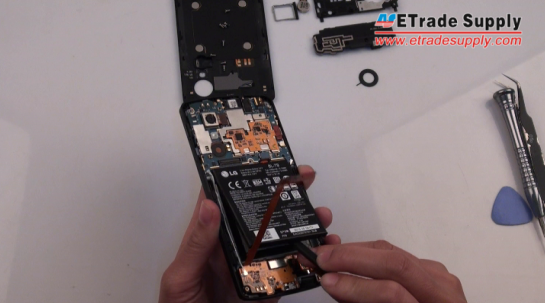
Step 8: Disconnect the display flex, unplug the 4G antenna cable (white color) and 3G antenna cable (black color) on the Nexus 5.
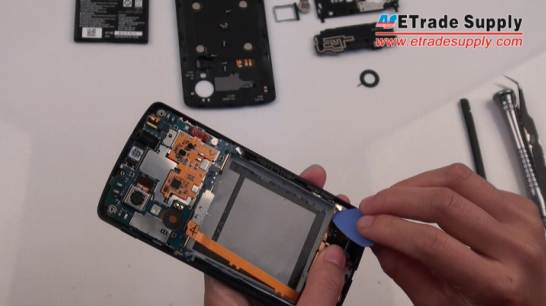
Step 9: Gently lift the Nexus 5 charging port flex cable up and use the tweezers to remove the rest part of Nexus 5.
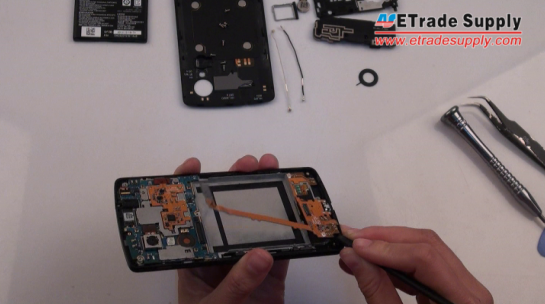
Step 10: To remove the Nexus 5 mainboard, you need to disconnect the rear-facing camera connector, front-facing camera connector and unplug the 3G/GSM and 4G antenna cable connectors.
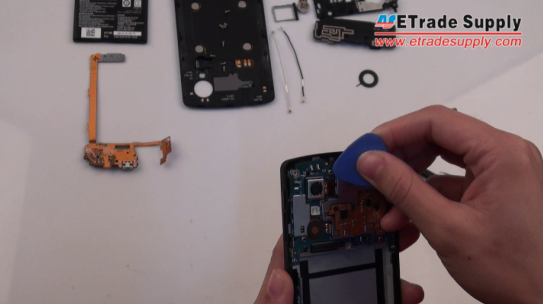
Step 11: Remove the Nexus 5 mainboard gently.
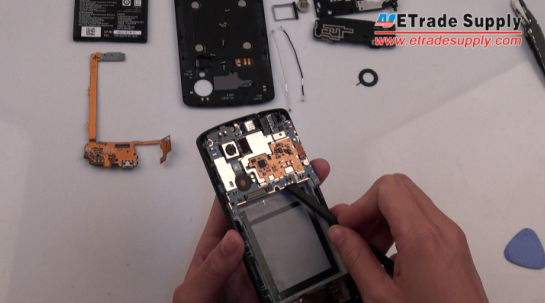
Step 12: You can lift the metal shied underneath the Nexus 5 mainboard for fixing the mobile damaged. Then clear and dry it.
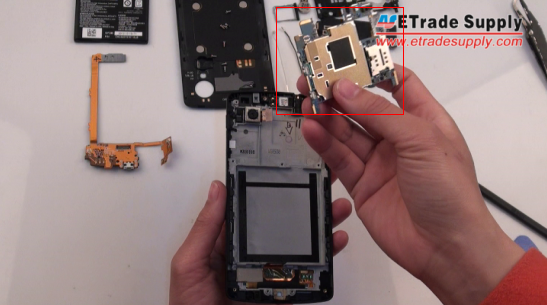
Step 13: Remove the 8MP rear-facing camera of Nexus 5 with the tweezers.
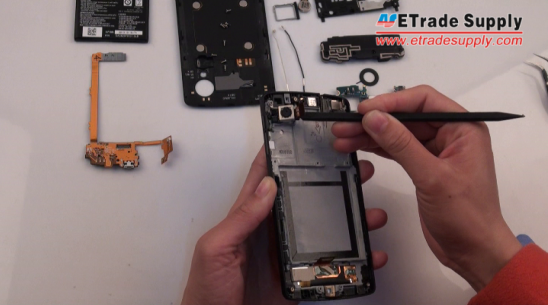
Step 14: Carefully remove the Nexus 5 1.3Mp front-facing camera after peeling off the rubber piece.
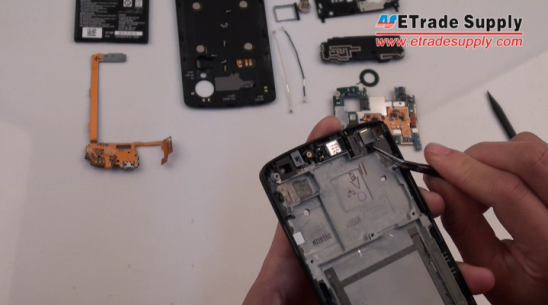
Step 15: Remove the Nexus 5 earphone jack with the pry tool.
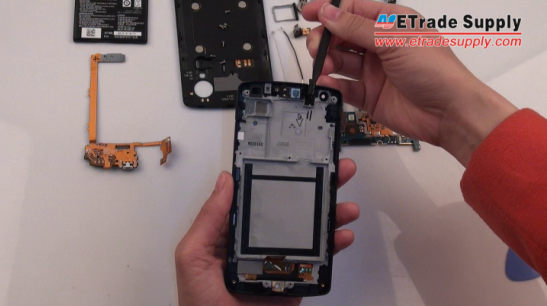
Step 16: Remove the Nexus 5 ear speaker.
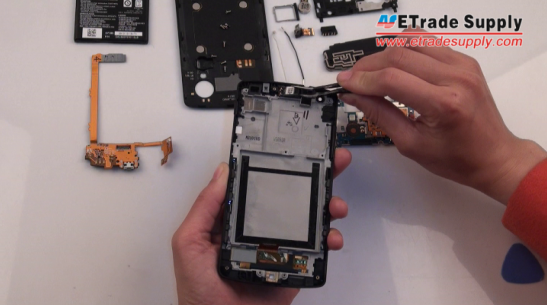
Step 17: Peel off the Nexus 5 power button and volume button with the tweezers.
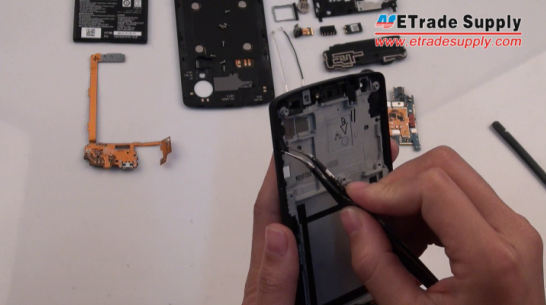
Step 18: Remember to remove the rubber microphone gasket on Nexus 5 if the new screen replacement part you purchase does not include it.
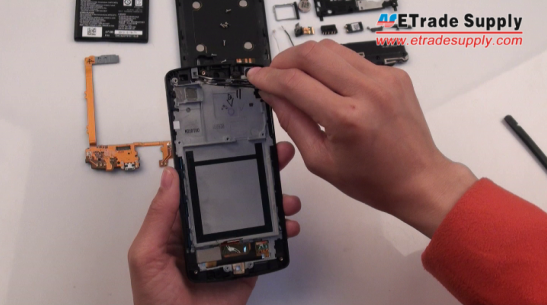
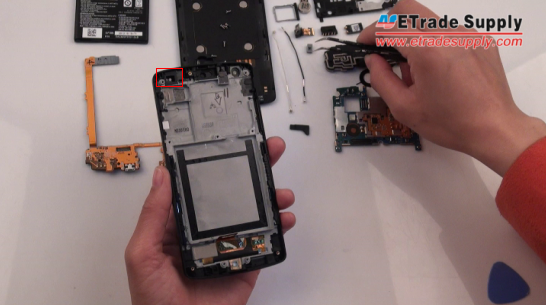
Step 19: The phone gasket prevents dust from getting between the proximity sensor and the glass screen. If the new Nexus 5 screen replacement part comes without it, you have to remove it to use on your new screen.
No comments:
Post a Comment